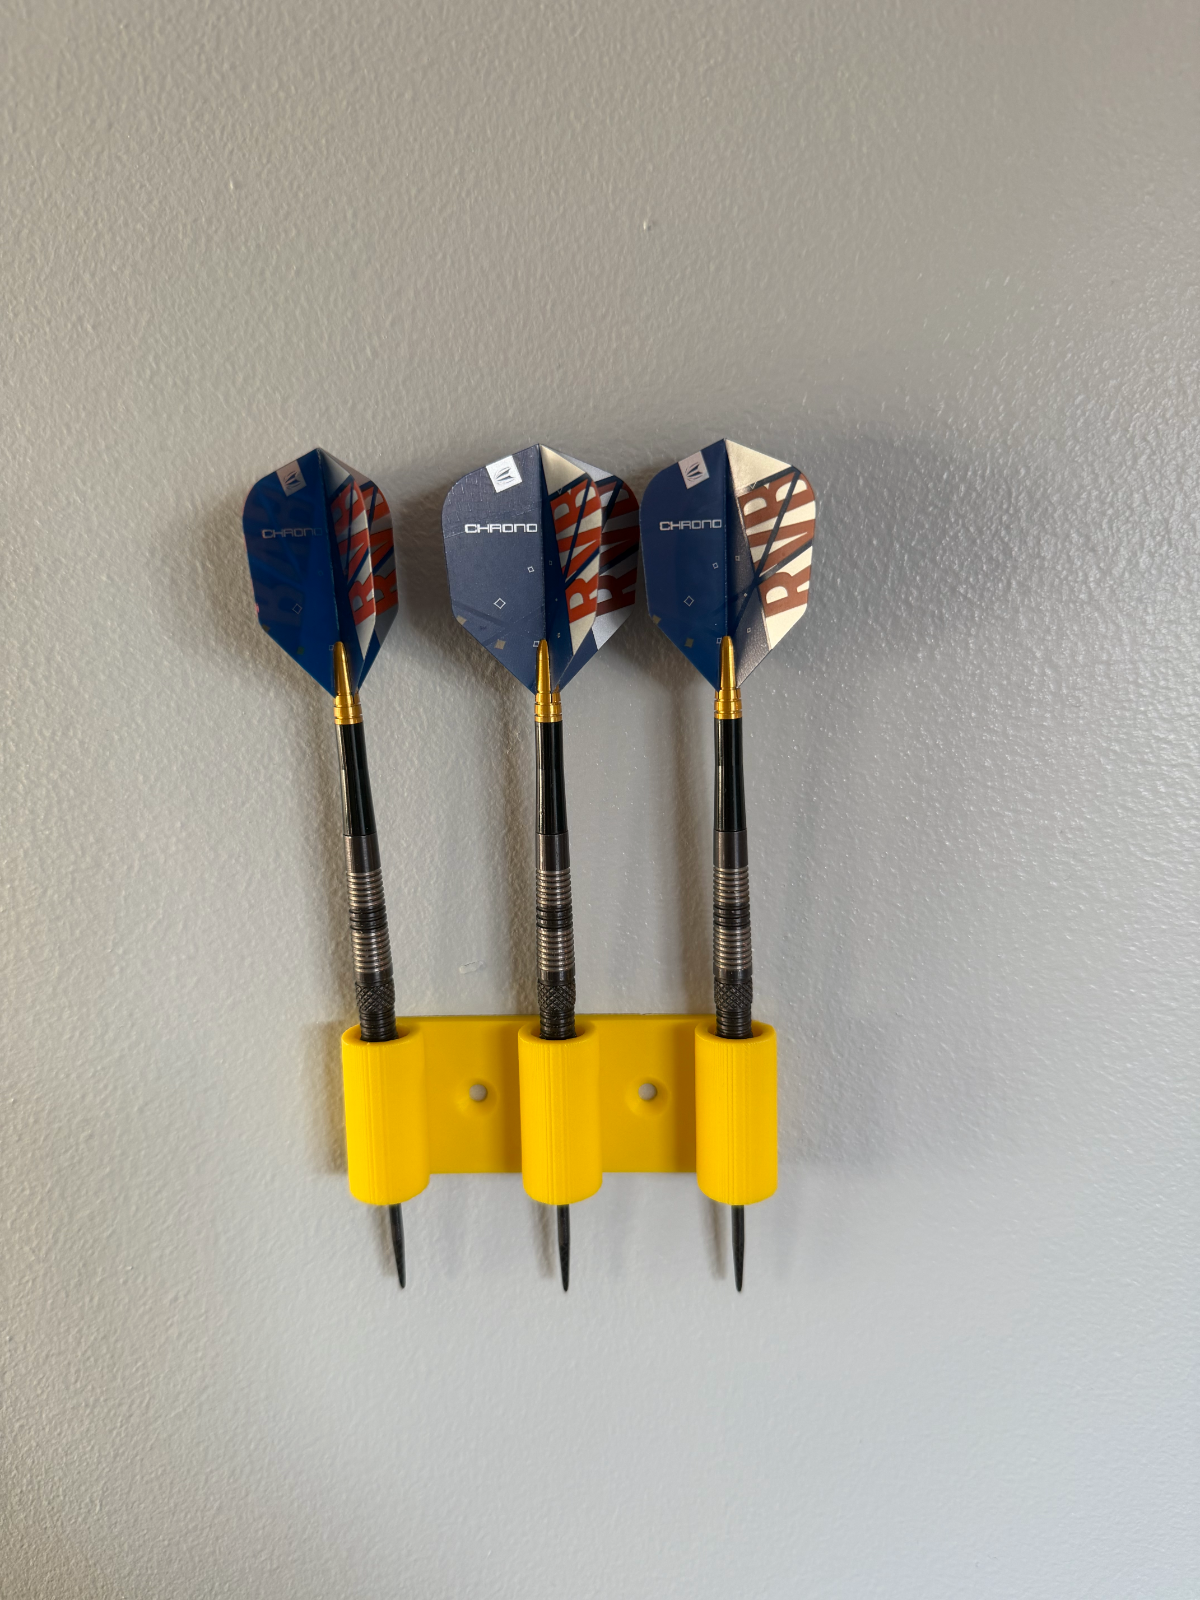

The most useful garage tool storage ideas combine wall space for frequently used tools, drawers for smaller hand tools and a separate place for batteries. Start with the space you need to work and move around, then choose organisers that fit your actual equipment. A clear workbench and tools you can put away easily matter more than filling every wall.
Whether your garage is a home workshop, a place to maintain the car or shared household storage, the aim is the same: find the right tool, take it out without moving several others, and return it to a clear position. Here is how to plan walls, drawers and battery storage together.
Measure the usable space after allowing for the things that must stay. If you park a car inside, check the space with it parked and its doors open. Include the garage door’s movement, the route to the house or garden, and access to meters, sockets and other services.
Draw a simple plan showing your bench, existing cabinets and the wall areas you can reach comfortably. Check the garage at working height as well as floor level: a shelf might fit above a bench but still prevent you lifting a drill out of its holder.
For small garage storage ideas, start by reducing the depth of storage along one wall rather than adding deep units everywhere. A narrow, accessible layout can be more useful than a larger capacity that blocks the bench or car.
Group equipment by the task you use it for, then decide how each group should be stored. Everyday tools deserve the easiest access. Occasional equipment can go in labelled cases or cupboards, provided you can retrieve it without an awkward lift.
| Storage | Best used for | Main check |
|---|---|---|
| Individual wall holders | Frequently used cordless tools and batteries | Exact fit, removal clearance and suitable fixings |
| Pegboard or a tool board | A changing selection of small hand tools | Compatible hooks, spacing and the board’s limits |
| Drawer organisers | Sockets, bits, spanners and small tools | Internal dimensions and loaded height |
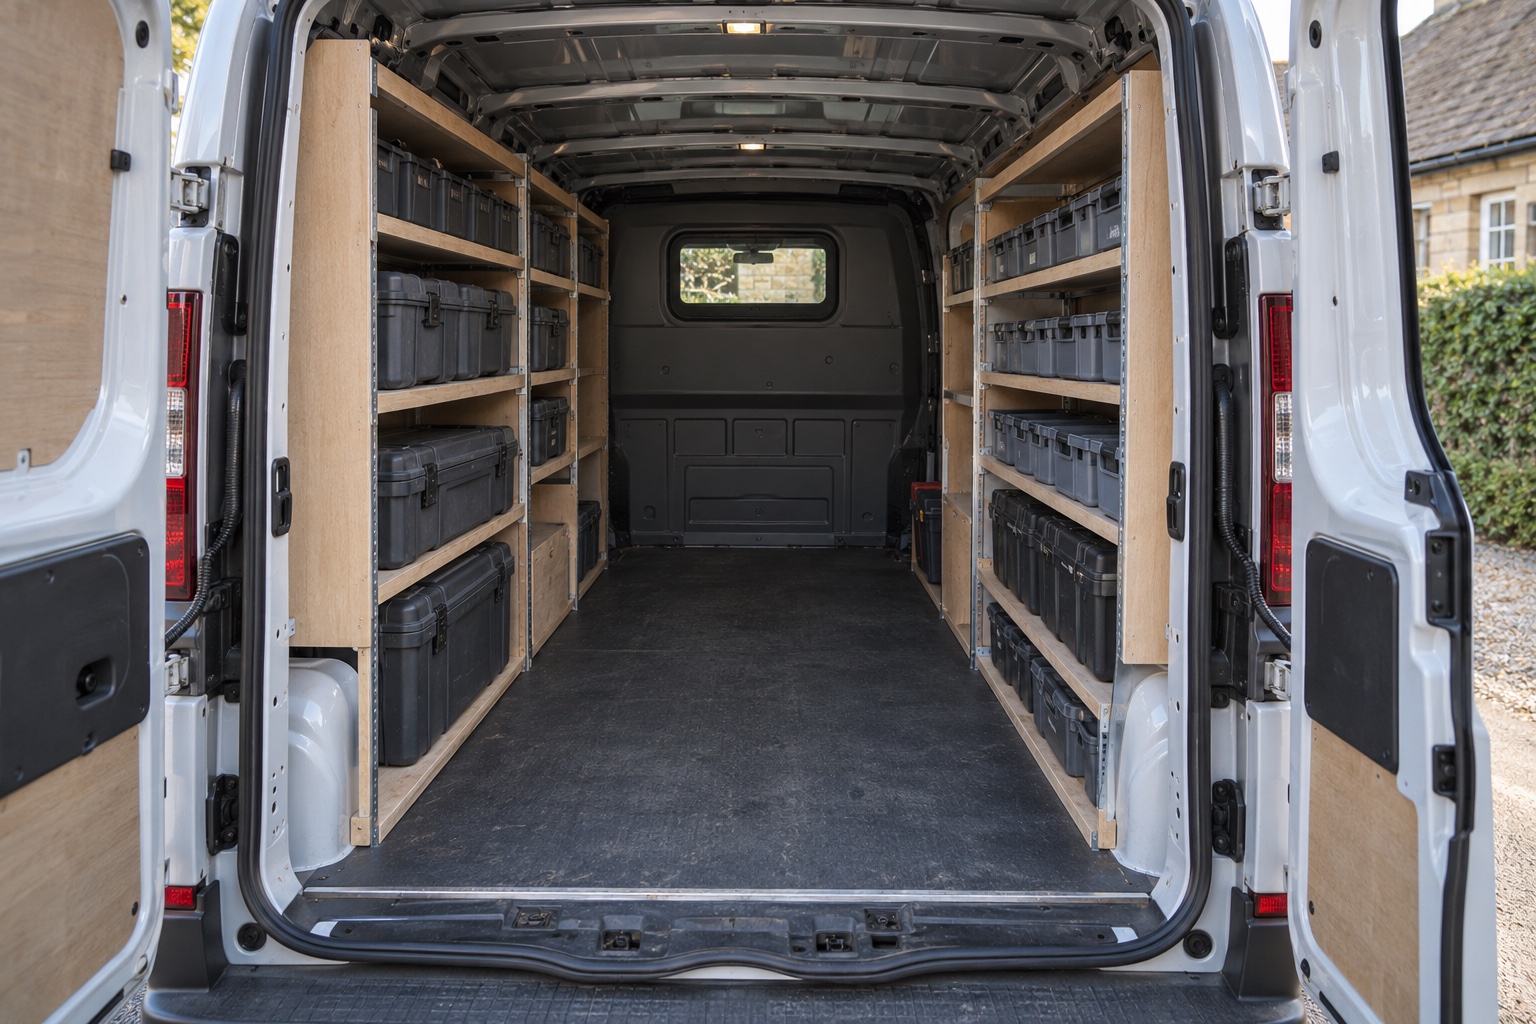
| Cases and closed cabinets | Task kits and less-used equipment | Lid or door clearance, weight and accessible labels |
You do not have to buy a matching system for the whole garage. Existing drawers, a few well-chosen holders and labelled cases can work together. Keep a useful section of the workbench clear instead of turning it into another permanent storage shelf.
Good garage wall storage ideas begin with the tools you use most. Lay them out on the bench before positioning holders. Leave enough space between them to grip the handles, operate any release mechanism and remove each tool without knocking its neighbour. The Layered Works wall-mounted holder range includes individual accessories for specific tool shapes and systems.
For mixed hand tools, a pegboard can offer flexibility as your collection changes. Dedicated holders are useful where a particular tool needs a repeatable position. Check the mounting surface and use fixings appropriate to the loaded weight; supplied wall plugs are not automatically suitable for every wall. Check for hidden services before drilling.
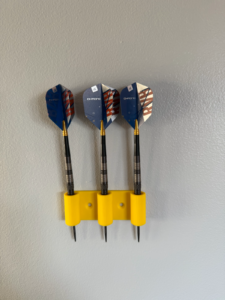
The Makita 18V Tool Wall Mount Holder from Layered Works stores one compatible tool body using its battery mounting area. The battery must be removed to use that mounting area. Choose the slim version where no belt clip obstructs the fit, or the extended version where extra clearance is needed.
Approximate dimensions are 75 mm wide × 112 mm deep × 28.3 mm high for the slim version, and 75 × 112 × 53.3 mm for the extended version. These describe the holder, not the complete tool’s stored footprint. The listing includes one selected holder, four screws and four wall plugs; the tool and battery are not included. The extended version accommodates many belt clips, but not every design.
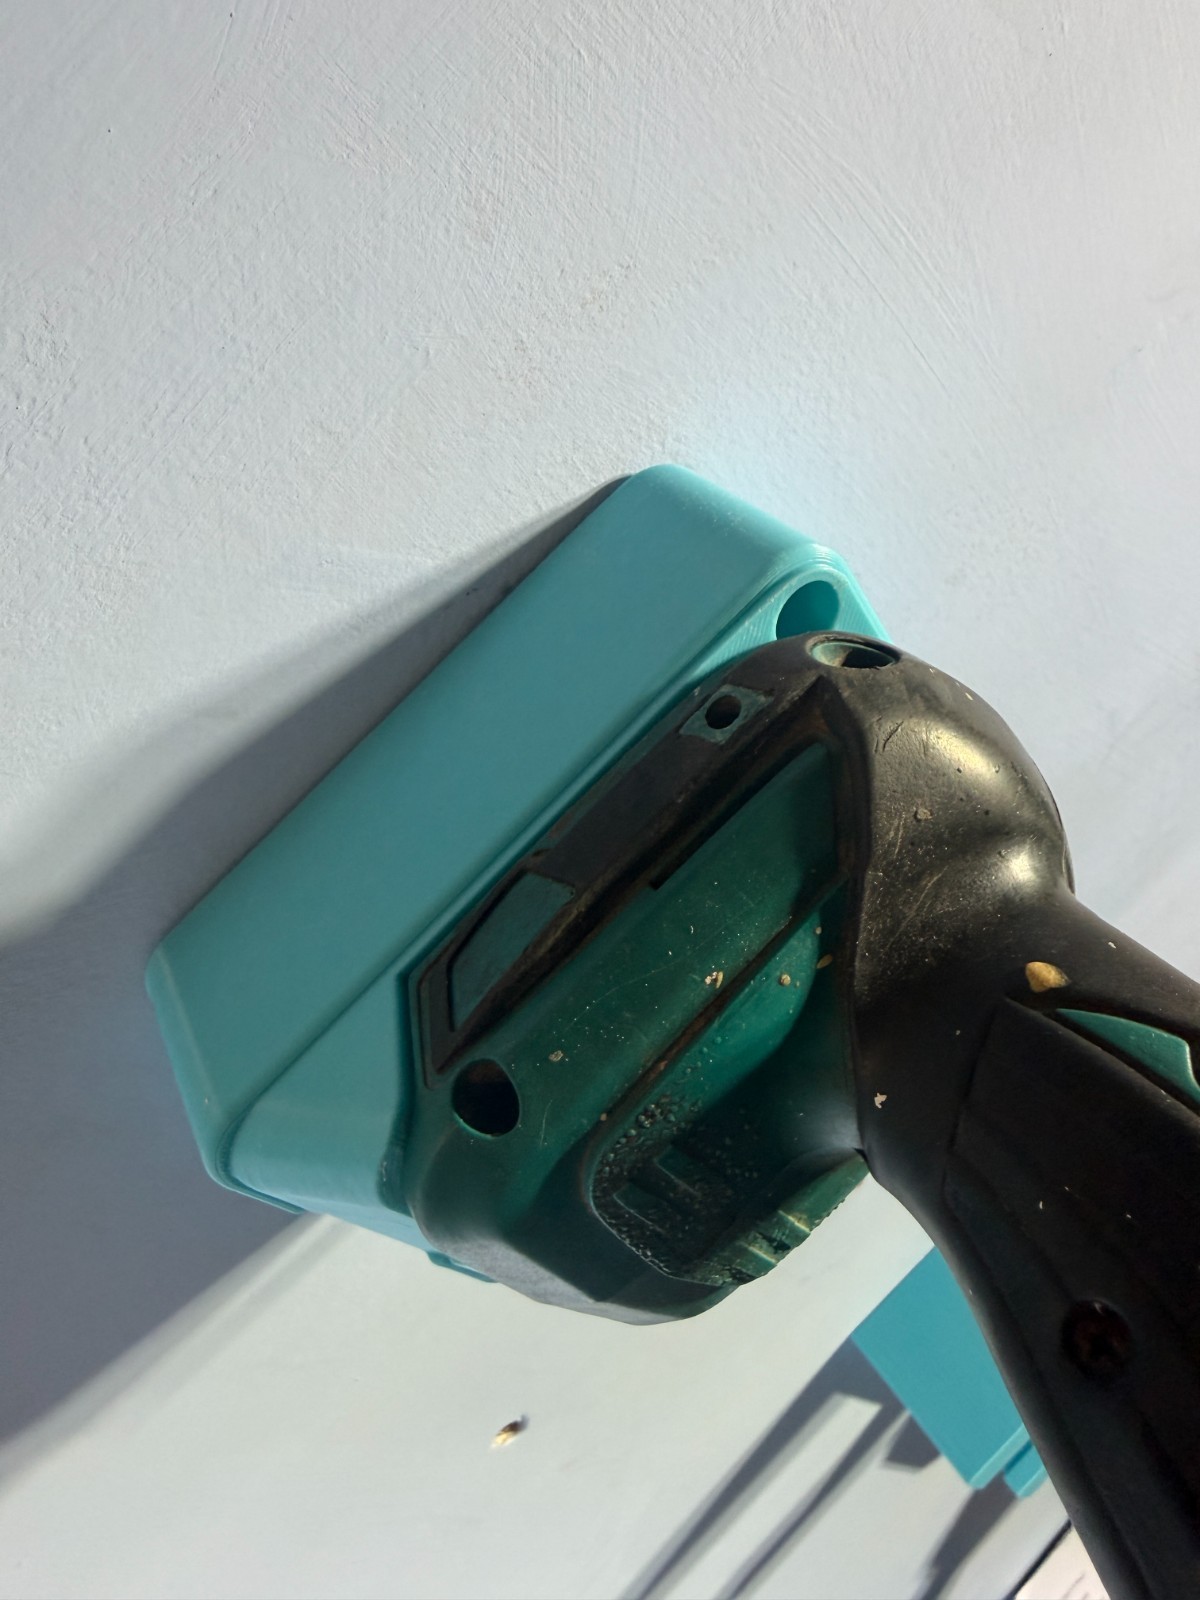
This is an independent accessory, not made or endorsed by Makita. The listing credits GunSmoker’s “Makita Wall Mounts / Holders for Battery and Tools (18V/14.4V LXT)” under CC BY 4.0, with slim and extended configurations and preparation for 3D printing by Layered Works.
Sort sockets by drive size and separate deep from shallow sockets before choosing a tray. Group spanners, ratchets and extensions so you can reach the items used together. A single visible layer is often easier to use than several loose layers that hide missing tools.
The toolbox drawer organiser range offers different layouts, so measure before ordering. Check the whole drawer opening, not just the space behind it, and account for any liner, locking bar or obstruction inside the cabinet.
The 1/4 Deep & Shallow Socket Tray is designed for 1/4-inch drive metric deep and shallow sockets from 4 mm to 15 mm. Two snap-together sections form one rail, with approximate assembled dimensions of 250 × 62 × 23 mm. It is not magnetic. Sockets, ratchets, tools and the toolbox are not included.
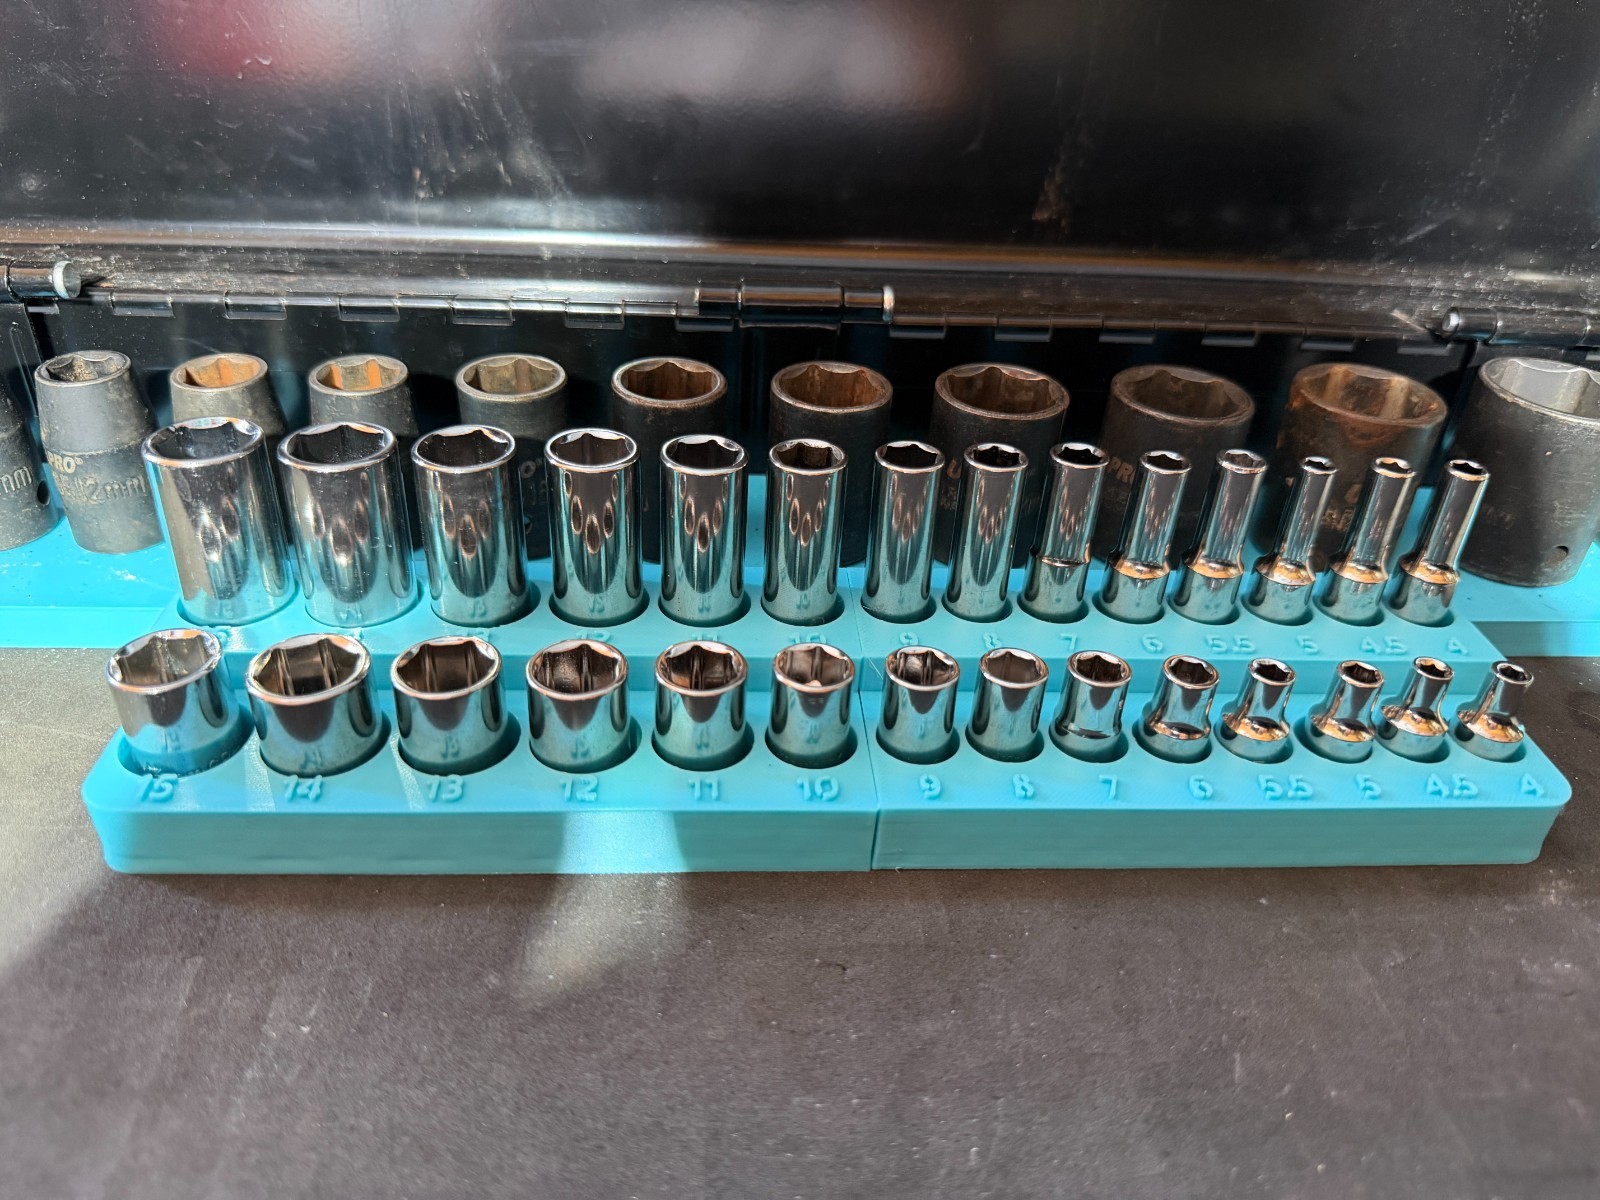
As a planning example, you could mark out a 250 × 62 mm paper rectangle inside a drawer measuring 500 × 350 mm internally. That shows the tray’s footprint, but it does not prove the loaded arrangement fits. You still need room for the sockets, your fingers and any other organisers. Measure the height of the sockets when seated in the tray before closing the drawer.
Socket brand, wall thickness and profile can affect the fit even when the drive size matches. Compare your set with the listing and ask about any uncertainty. Build the layout around your socket collection rather than buying a tray purely because its empty footprint fits the drawer.
Keep batteries away from loose screws, swarf and other conductive items. Choose a position that is dry and protected from knocks, then follow the storage and temperature instructions for your exact battery. An unheated or sun-exposed garage may not meet those conditions throughout the year.
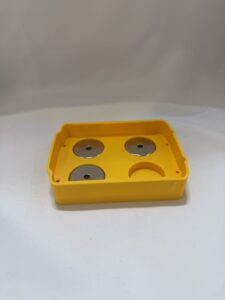
The Makita 18V Battery Wall Mount Holder stores one compatible slide battery. A compatible battery slides onto the holder and locks using its existing mechanism; press the battery’s release button before removing it. Check the exact casing and rails, particularly with older or third-party packs.
The holder measures approximately 98.4 × 72.7 × 21.8 mm. One holder, three screws and three wall plugs are included; the battery is not. Allow space beyond the holder for the battery casing, the sliding movement and access to the release button. It is a storage accessory and does not charge or electrically connect to the battery.

The battery holder is also based on the credited GunSmoker design under CC BY 4.0. Browse the battery holder range for other verified systems; voltage alone does not establish compatibility.
A row of holders can sit near a suitable charging area, but the holders do not make that area suitable on their own. Use the charger specified for your battery and follow its installation, ventilation and charging instructions. Makita’s battery guidance (PDF) also warns against short-circuiting batteries and exposing them to water or rain. Keep children away from batteries and charging equipment.
Before returning tools to storage, remove loose dirt and follow their care instructions. Deal with water ingress or persistent damp rather than expecting an organiser to protect the equipment from it. Closed cases and cabinets can help separate clean equipment from dusty work, but they do not resolve a damp garage.
Keep consumables in labelled compartments and give unfinished jobs a temporary box or shelf. Otherwise, parts waiting for the next stage tend to occupy the workbench indefinitely. A label showing the job and missing items is more useful than an unmarked pile.
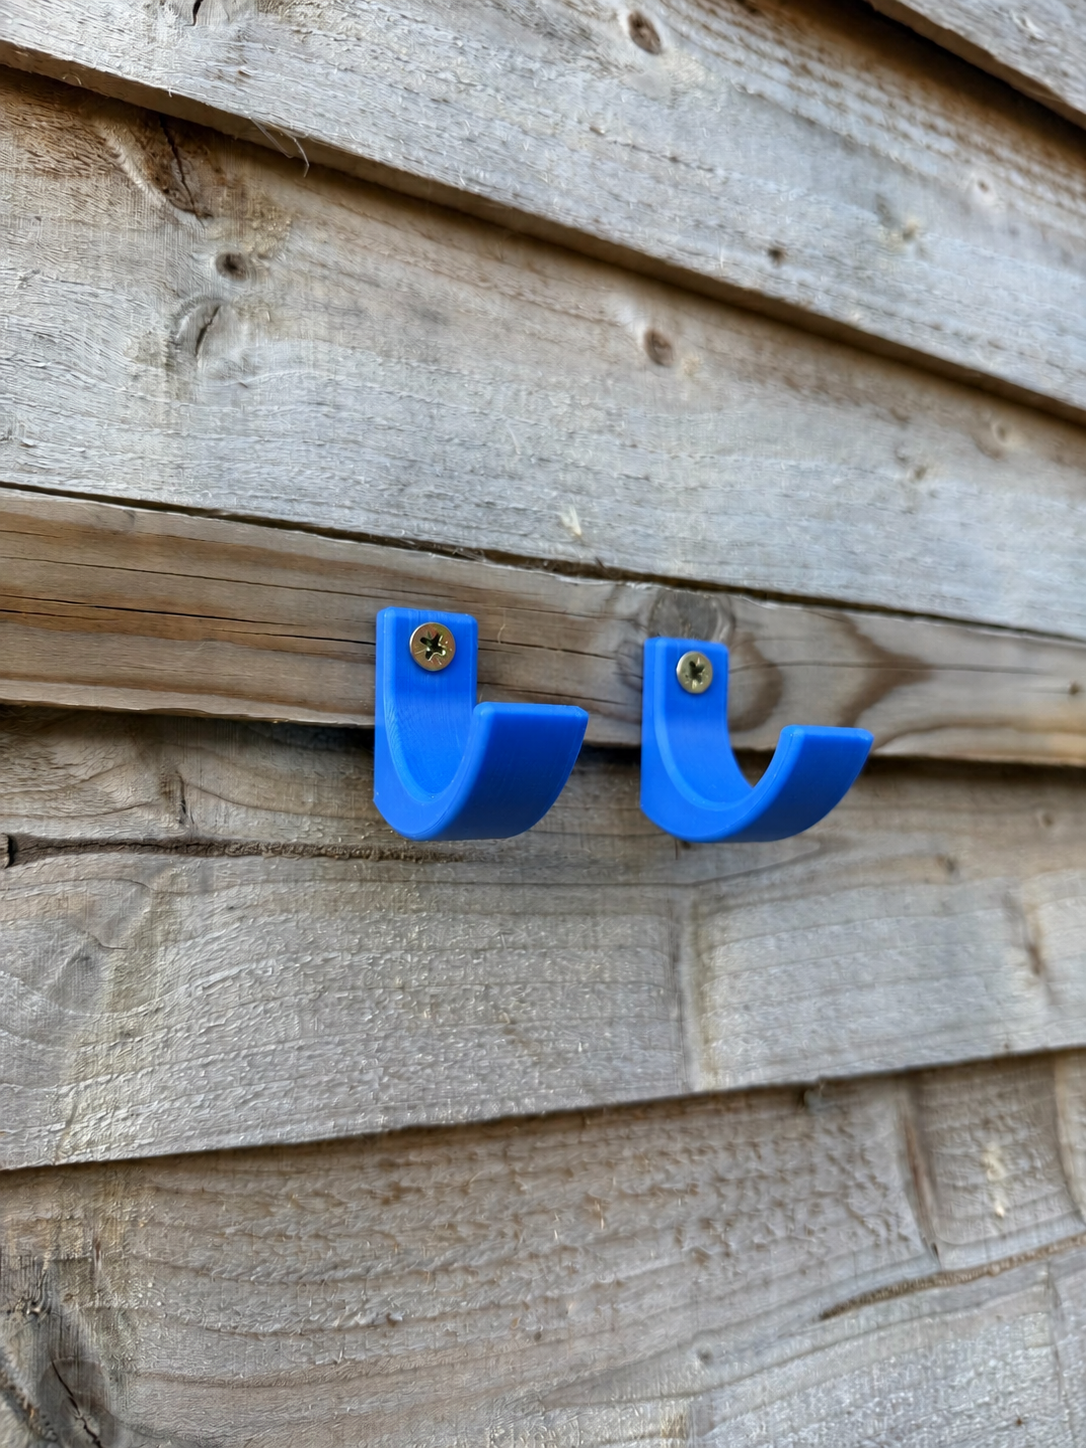
If gardening equipment shares the space, give it a separate area so long handles do not block the tool chest. Our garden tool storage guide covers hooks and handle-fit checks in more detail.
Start with a small area you use often. For example, a home maintenance setup could place a compatible drill and its batteries on the wall, sockets and ratchets in the drawer below, and occasional task kits in labelled cases on a nearby shelf. This is a layout example to adapt to your space, not a fixed shopping list.
Leave a little usable space for the next tool or a temporary job kit. If every new item forces a complete rearrangement, the layout needs more flexibility. Review it when your work changes, and return tools to their positions at the end of each session.
Start with the drawers, cases and wall space you already have. Remove unused items, group tools by task and label their positions. Add organisers only where they solve a specific problem, such as mixed sockets or batteries taking up the workbench.
A pegboard suits a changing mix of small tools because hooks and containers can be rearranged. An individual holder can suit a specific cordless tool or battery. Compare usable access, compatible fittings and the mounting surface rather than choosing only by appearance.
Measure the tallest socket when seated in the proposed organiser, then compare that with the drawer’s usable closed height. The empty tray height is insufficient on its own. Allow for liners, obstructions and a little clearance so the drawer does not catch the tools.
No. The storage holders described here are passive accessories. Use the correct charger separately and follow its instructions. A tidy storage wall does not change the battery’s requirements for temperature, moisture protection or safe charging.
No universal fit should be assumed. Check the exact tool or battery casing, slide rails, belt clip and any fitted accessories against the listing. Similar voltage markings or a familiar-looking base are not enough to confirm compatibility.
You can send a custom print enquiry with the drawer’s internal dimensions, tool models, photographs and the layout you want. Include loaded-height measurements where relevant. Custom requests are subject to feasibility review; check before ordering rather than assuming a standard item can simply be resized.
Explore drawer organisers, wall-mounted tool holders and battery storage accessories from Layered Works. Check the exact fit, dimensions and included parts on each listing, or send the details of your setup if you need help choosing.