
The most useful garden tool storage ideas start with a clear floor and a place for each tool. Hang suitable long-handled tools on a sound wall, keep small hand tools together in a shallow tray or caddy, and reserve accessible floor space for the mower and wheelbarrow. Measure the tools and the space before choosing hooks, racks or shelves.
A small shed works better when you can take out a rake without moving three other things. This guide explains how to plan that layout, choose holders that actually fit and keep garden tools clean and dry between jobs.
Start with the usable wall space, allowing for the door swing, windows, shelves and anything already fixed in place. Then stand your tools side by side and note the widest head, the longest handle and how far each item projects into the walkway.
Mark the proposed positions with removable tape before drilling. Hold each tool in position and mimic taking it down. This catches awkward overlaps that a neat row of empty hooks will not reveal.
The best option depends on your wall, the tools you own and how often you use them. A few individual hooks can suit a small collection; a rack may be more practical when there are many different handle sizes.
| Storage option | Useful for | Check before choosing |
|---|---|---|
| Individual wall hooks | Giving suitable tools separate, visible positions | Handle fit, tool weight, wall strength and fixing method |
| Wall rack or rail | Grouping several long-handled tools | Spacing, rated capacity and how each tool is retained |
| Freestanding rack | Spaces where wall mounting is unsuitable | Stability, footprint and space to lift tools out |
| Shallow shelf or caddy | Trowels, gloves, labels and small accessories | Visibility, easy cleaning and protection from damp |
If you want a timber project, Wickes has a garden tool rack build guide covering a wall rack and portable unit. Check the materials, footprint and construction requirements against your own space before starting.
Store the tools you use most where you can reach them comfortably. Keep wide heads clear of neighbouring handles and the route through the shed. Avoid stacking several tools on one hook: the item at the back becomes difficult to retrieve.
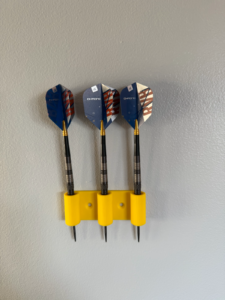
Layered Works’ Garden Tool Hooks for approximately 20mm handles are one option for suitable tools. They are supplied as one pair of two hooks, with an approximate printed size of 20 × 53.3 × 45.4mm. Measure the part of your tool that will rest in them and compare its shape with the product photographs.
The hooks are wall mounted and available in a choice of colours. Garden tools, screws and wall plugs are not included. The product listing does not give a load rating, so do not assume suitability for a heavy item from handle diameter alone. Ask for advice if the fit or intended use is uncertain.
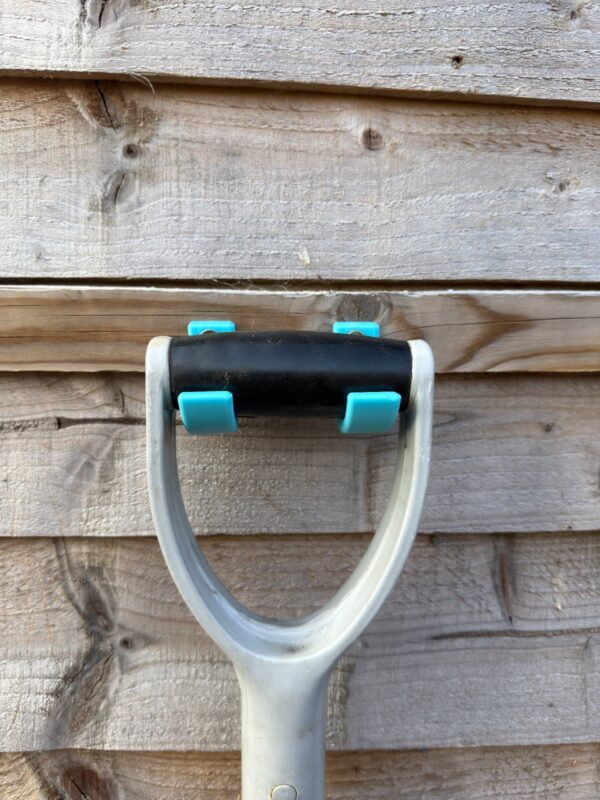
Browse the garden tool holders range for the available options. These are individual accessories; choose each one for the tool and mounting surface rather than assuming a complete universal racking system.
A shallow tray or portable caddy keeps trowels, a hand fork, plant labels and gloves together. Put frequently used items near the front, with sharp edges covered where suitable. Choose a container you can see into without emptying it.
Give dry gloves their own space and let wet ones dry before packing them away. Keep seed packets and items that need dry storage away from muddy tools. A shelf just inside the door can be convenient, provided it leaves the entrance clear.
Group cordless garden equipment by system so that a battery, tool and attachment are easy to identify. Use a holder made for the exact item, and check there is room to release it without catching a shelf or another tool.
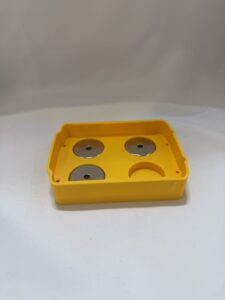
For example, the EGO Battery Wall Mount Holder sold by Layered Works is for compatible EGO Power+ 56V ARC Lithium battery casings matching the listing photographs. One holder, two screws and two wall plugs are included; the battery is not. Check your exact model and casing, as different capacities, generations or aftermarket packs may vary.
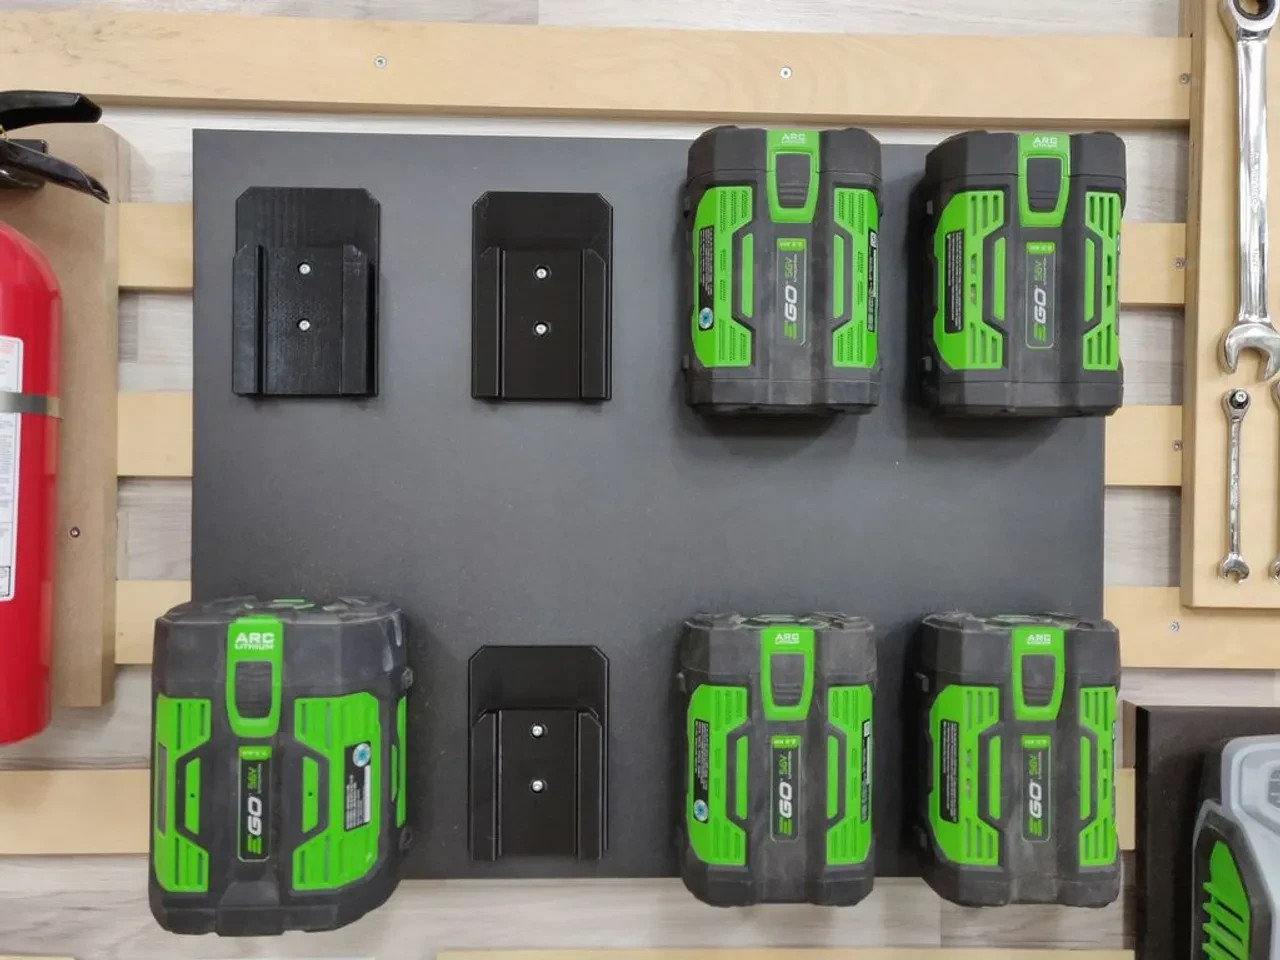
A storage holder does not charge a battery or make a damp, hot or freezing shed suitable for it. Follow the battery manufacturer’s instructions for storage conditions and charging; EGO’s official manuals and safety sheets let you find the guidance for your model. If the shed cannot meet those conditions, use a suitable indoor storage location instead.
Layered Works accessories are independently supplied and are not made, approved or endorsed by EGO. For other equipment, compare the wall-mounted tool holders with your specific model and its dimensions.
As a planning example, imagine a shed holding a mower, a spade, a fork, a rake and a few hand tools. Start with the mower’s exit route, then work outwards:
This is an example to adapt, not a measured installation or a claim that every shed has room for the same layout. If the wall is unsuitable, a stable freestanding rack may be the better choice, even though it occupies floor space.
Wall storage makes tools easier to find, but it will not solve a leaking roof or persistent damp. Check the shed for water ingress and condensation, and let cleaned tools dry before returning them to storage.
The RHS guide to cleaning hand tools recommends removing soil, drying washed cultivation tools and keeping cutting tools in a clean, dry place. Keep a cleaning brush and towel nearby so this is easy to do after gardening.
Thin shed cladding is not automatically a suitable fixing point. Identify sound structural timber or another suitable surface, and follow the holder, fixing and building manufacturers’ guidance. A backing board also needs a secure fixing to an appropriate structure.
Use suitable wall storage for long-handled tools, a shallow caddy for small items and a clear floor area for wheeled equipment. Choose positions by testing how each tool comes out, rather than fitting holders into every available gap.
There is no single spacing that suits every collection. Measure the widest tool heads and allow room for your hand and the movement needed to remove each item. Trial the arrangement before marking fixing holes.
Yes. A stable freestanding rack, suitable shelving or a portable caddy can work. Check the rack’s capacity and footprint. Do not assume adhesive hooks can support heavy garden tools unless their manufacturer explicitly rates them for the tool and surface.
No. The relevant handle section must suit the hook’s size and shape. Grips and shafts vary, even on tools of the same type. Send a photo and measurements if you are unsure, and check suitability for the tool’s weight as well as its diameter.
Choose covered, dry storage wherever possible. An outdoor cabinet needs to suit the items being stored and protect them from the weather. Do not assume a printed indoor holder is weatherproof or suitable for prolonged sunlight and outdoor exposure.
You can request a custom option. Send the handle diameter, tool dimensions, photographs and intended mounting details. Every request is subject to a feasibility review before the design or order is agreed.
Start with the tools that currently cause the most clutter. View Layered Works garden tool holders, or discuss a custom printed organiser with photos and measurements. We can review your requirements before you choose an accessory.